Step-by-Step Guide to Installing a New Kitchen Sink

Thinking about upgrading your kitchen with a new sink? Whether you're replacing an old, worn-out model or adding a more modern, functional style, proper installation is key. At Handyman Service St. John’s, we specialize in kitchen fixture upgrades across Newfoundland homes, and we know that even a simple sink swap can go a long way in improving your space.
Here’s our step-by-step guide to installing a new kitchen sink—plus when it’s best to call in a pro.
🛠 Step 1: Gather Your Tools and Supplies
Before you begin, you’ll need:
- New kitchen sink (undermount or drop-in)
- New faucet and strainer (optional but recommended)
- Silicone caulk
- Adjustable wrench and basin wrench
- Plumber’s putty
- Bucket and towels
- Tape measure
- Utility knife
If you're installing a deeper or differently shaped sink, you may also need to modify your countertop or plumbing.
🧰 Step 2: Remove the Old Sink
- Shut off the water supply under the sink.
- Place a bucket under the drainpipes to catch any residual water.
- Disconnect the water lines, drainpipe, and garbage disposal (if present).
- Loosen any clips or brackets holding the old sink in place.
- Carefully lift out the old sink. You may need to cut through caulk or sealant first.
💡 Pro Tip: Take a photo of the existing plumbing setup before removing anything—it helps during reassembly.
📏 Step 3: Check the Fit
Measure the sink opening in your countertop to ensure the new sink fits properly. If it doesn’t, you may need to cut the countertop (especially for farmhouse or apron-front styles).
If the fit is good:
- Clean the countertop area thoroughly.
- Test-fit the new sink and faucet placement.
🪛 Step 4: Install the Faucet and Drain (Before Mounting the Sink)
It’s often easier to attach the faucet, sprayer hose, and sink strainer before placing the sink into the counter. This step is usually done from the top while the sink is out.
Use plumber’s putty around the sink strainer and faucet base to ensure a watertight seal.
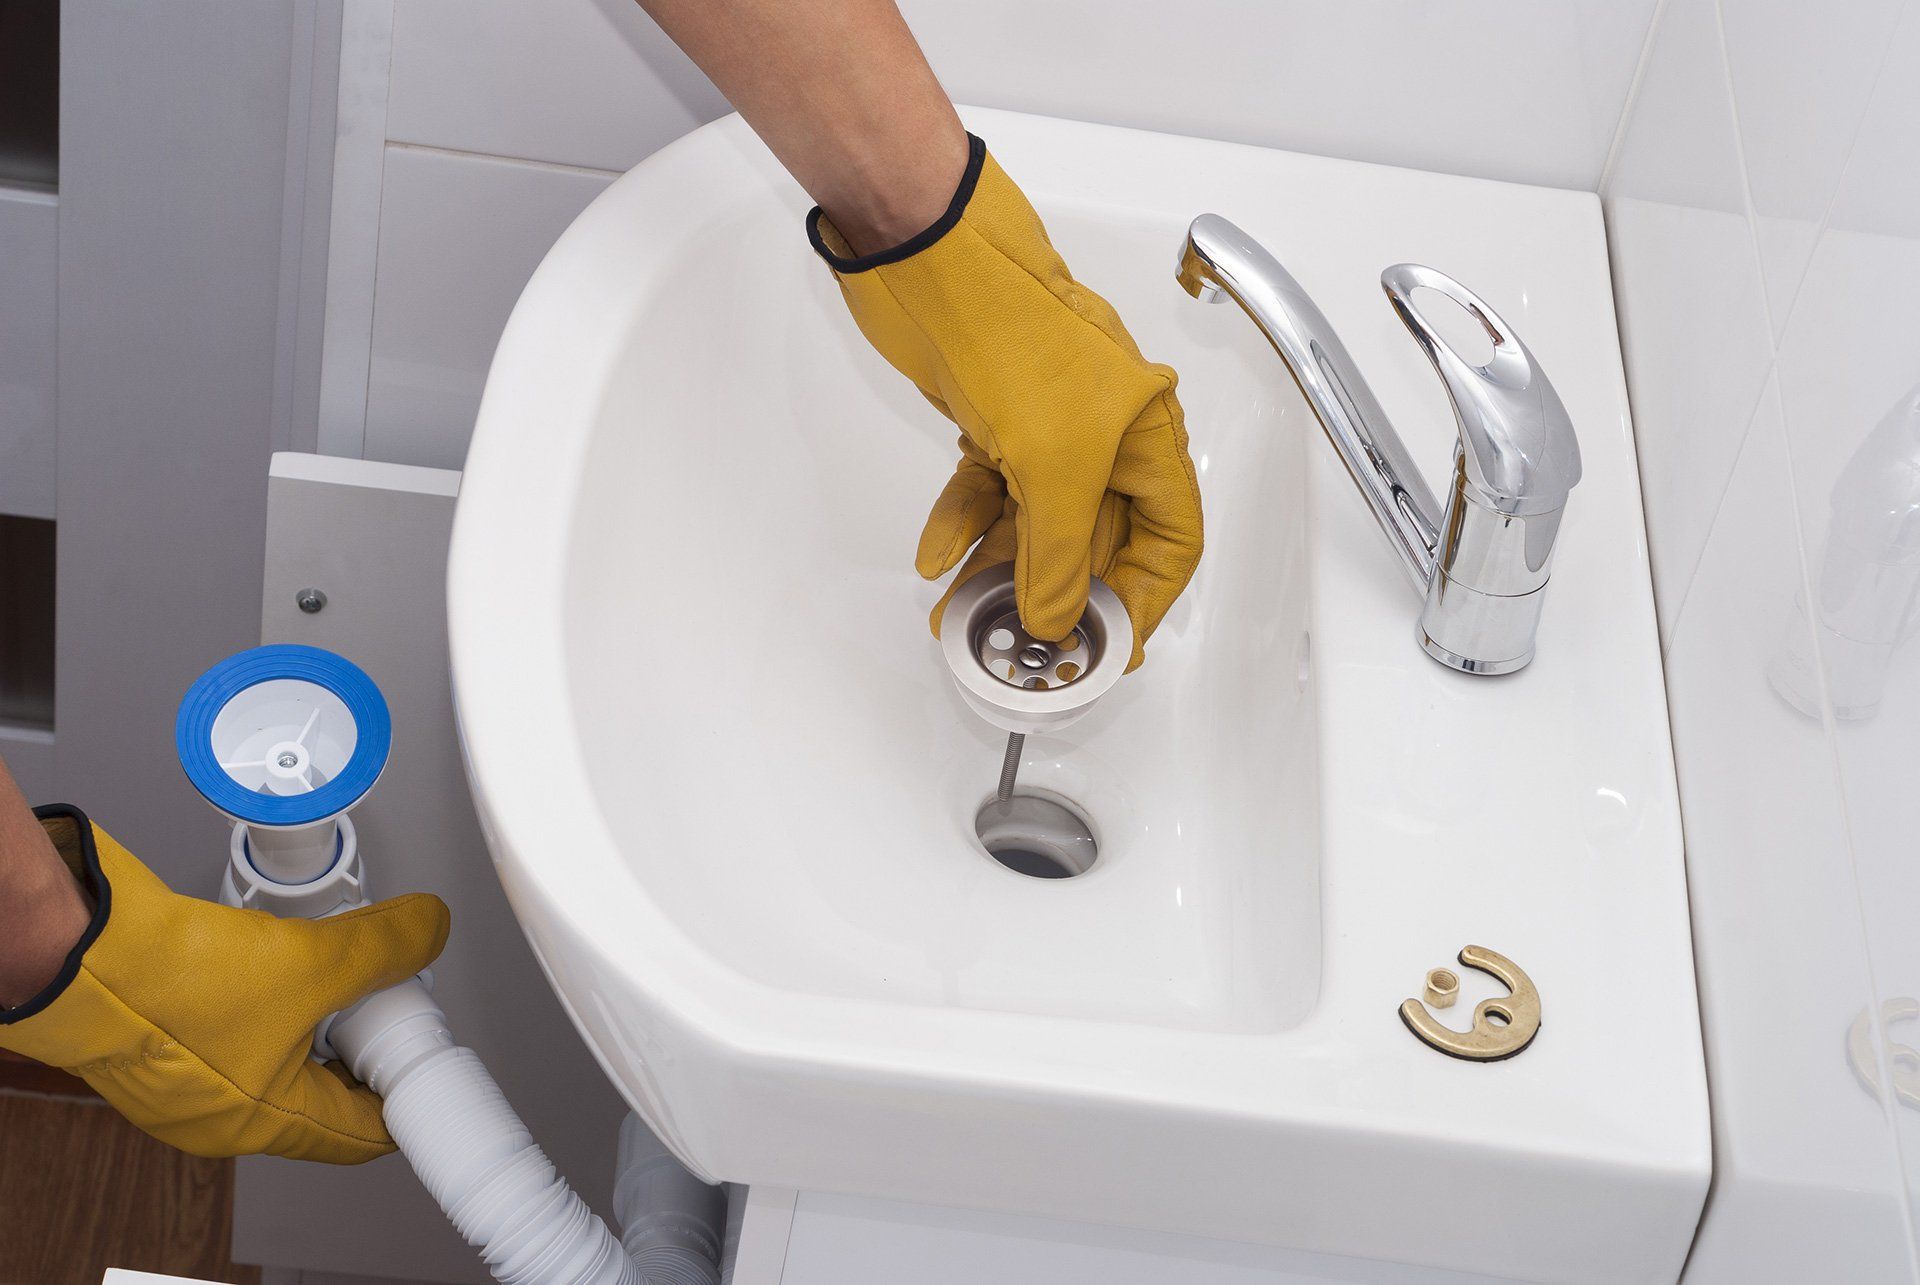
🧽 Step 5: Mount the Sink
- Apply a bead of silicone caulk around the edge of the countertop opening.
- Carefully lower the sink into place, pressing down gently to seal it.
- If using mounting clips (for drop-in sinks), tighten them from underneath.
- Wipe away excess caulk.
Undermount sinks may require brackets and support while the adhesive cures—this is often a job for professionals.
🚰 Step 6: Reconnect Plumbing and Test
- Reconnect the water supply lines, drainpipes, and garbage disposal.
- Slowly turn the water back on and check for leaks under the sink.
- Tighten any loose connections, and seal gaps if needed.
Let everything sit for a few hours to ensure the caulk has cured properly before full use.
🧑🔧 When to Call the Pros
Installing a sink sounds simple—but if you’re dealing with:
- Undermount sinks
- Countertop modifications
- Older plumbing setups
- Leaks or pressure issues
…it’s best to leave it to a professional.
At Handyman Service St. John’s, we handle everything from removal to installation, ensuring your new kitchen sink looks great and works flawlessly—without the stress or mess.
Need Help With Your Kitchen Upgrade?
We serve homeowners across St. John’s, Newfoundland, offering fast, reliable, and affordable handyman services for kitchens, bathrooms, and beyond. Whether it’s a full renovation or a simple fixture swap, we’re here to help.
📞 Contact Handyman Service St. John’s today to book your kitchen sink installation!